Essential Oil Chapstick
With the holiday season coming up, I’m a big fan of gifting friends handmade goodies that have meaning and health benefits!
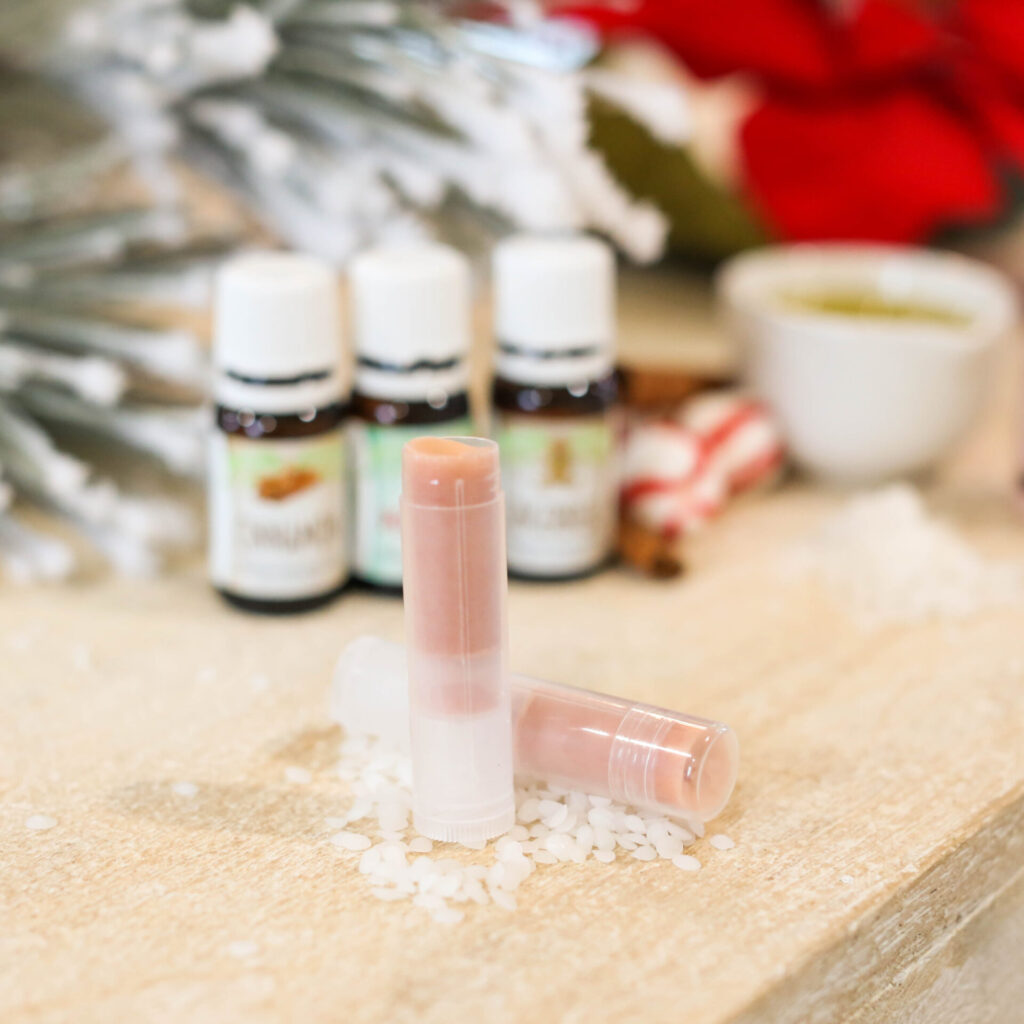
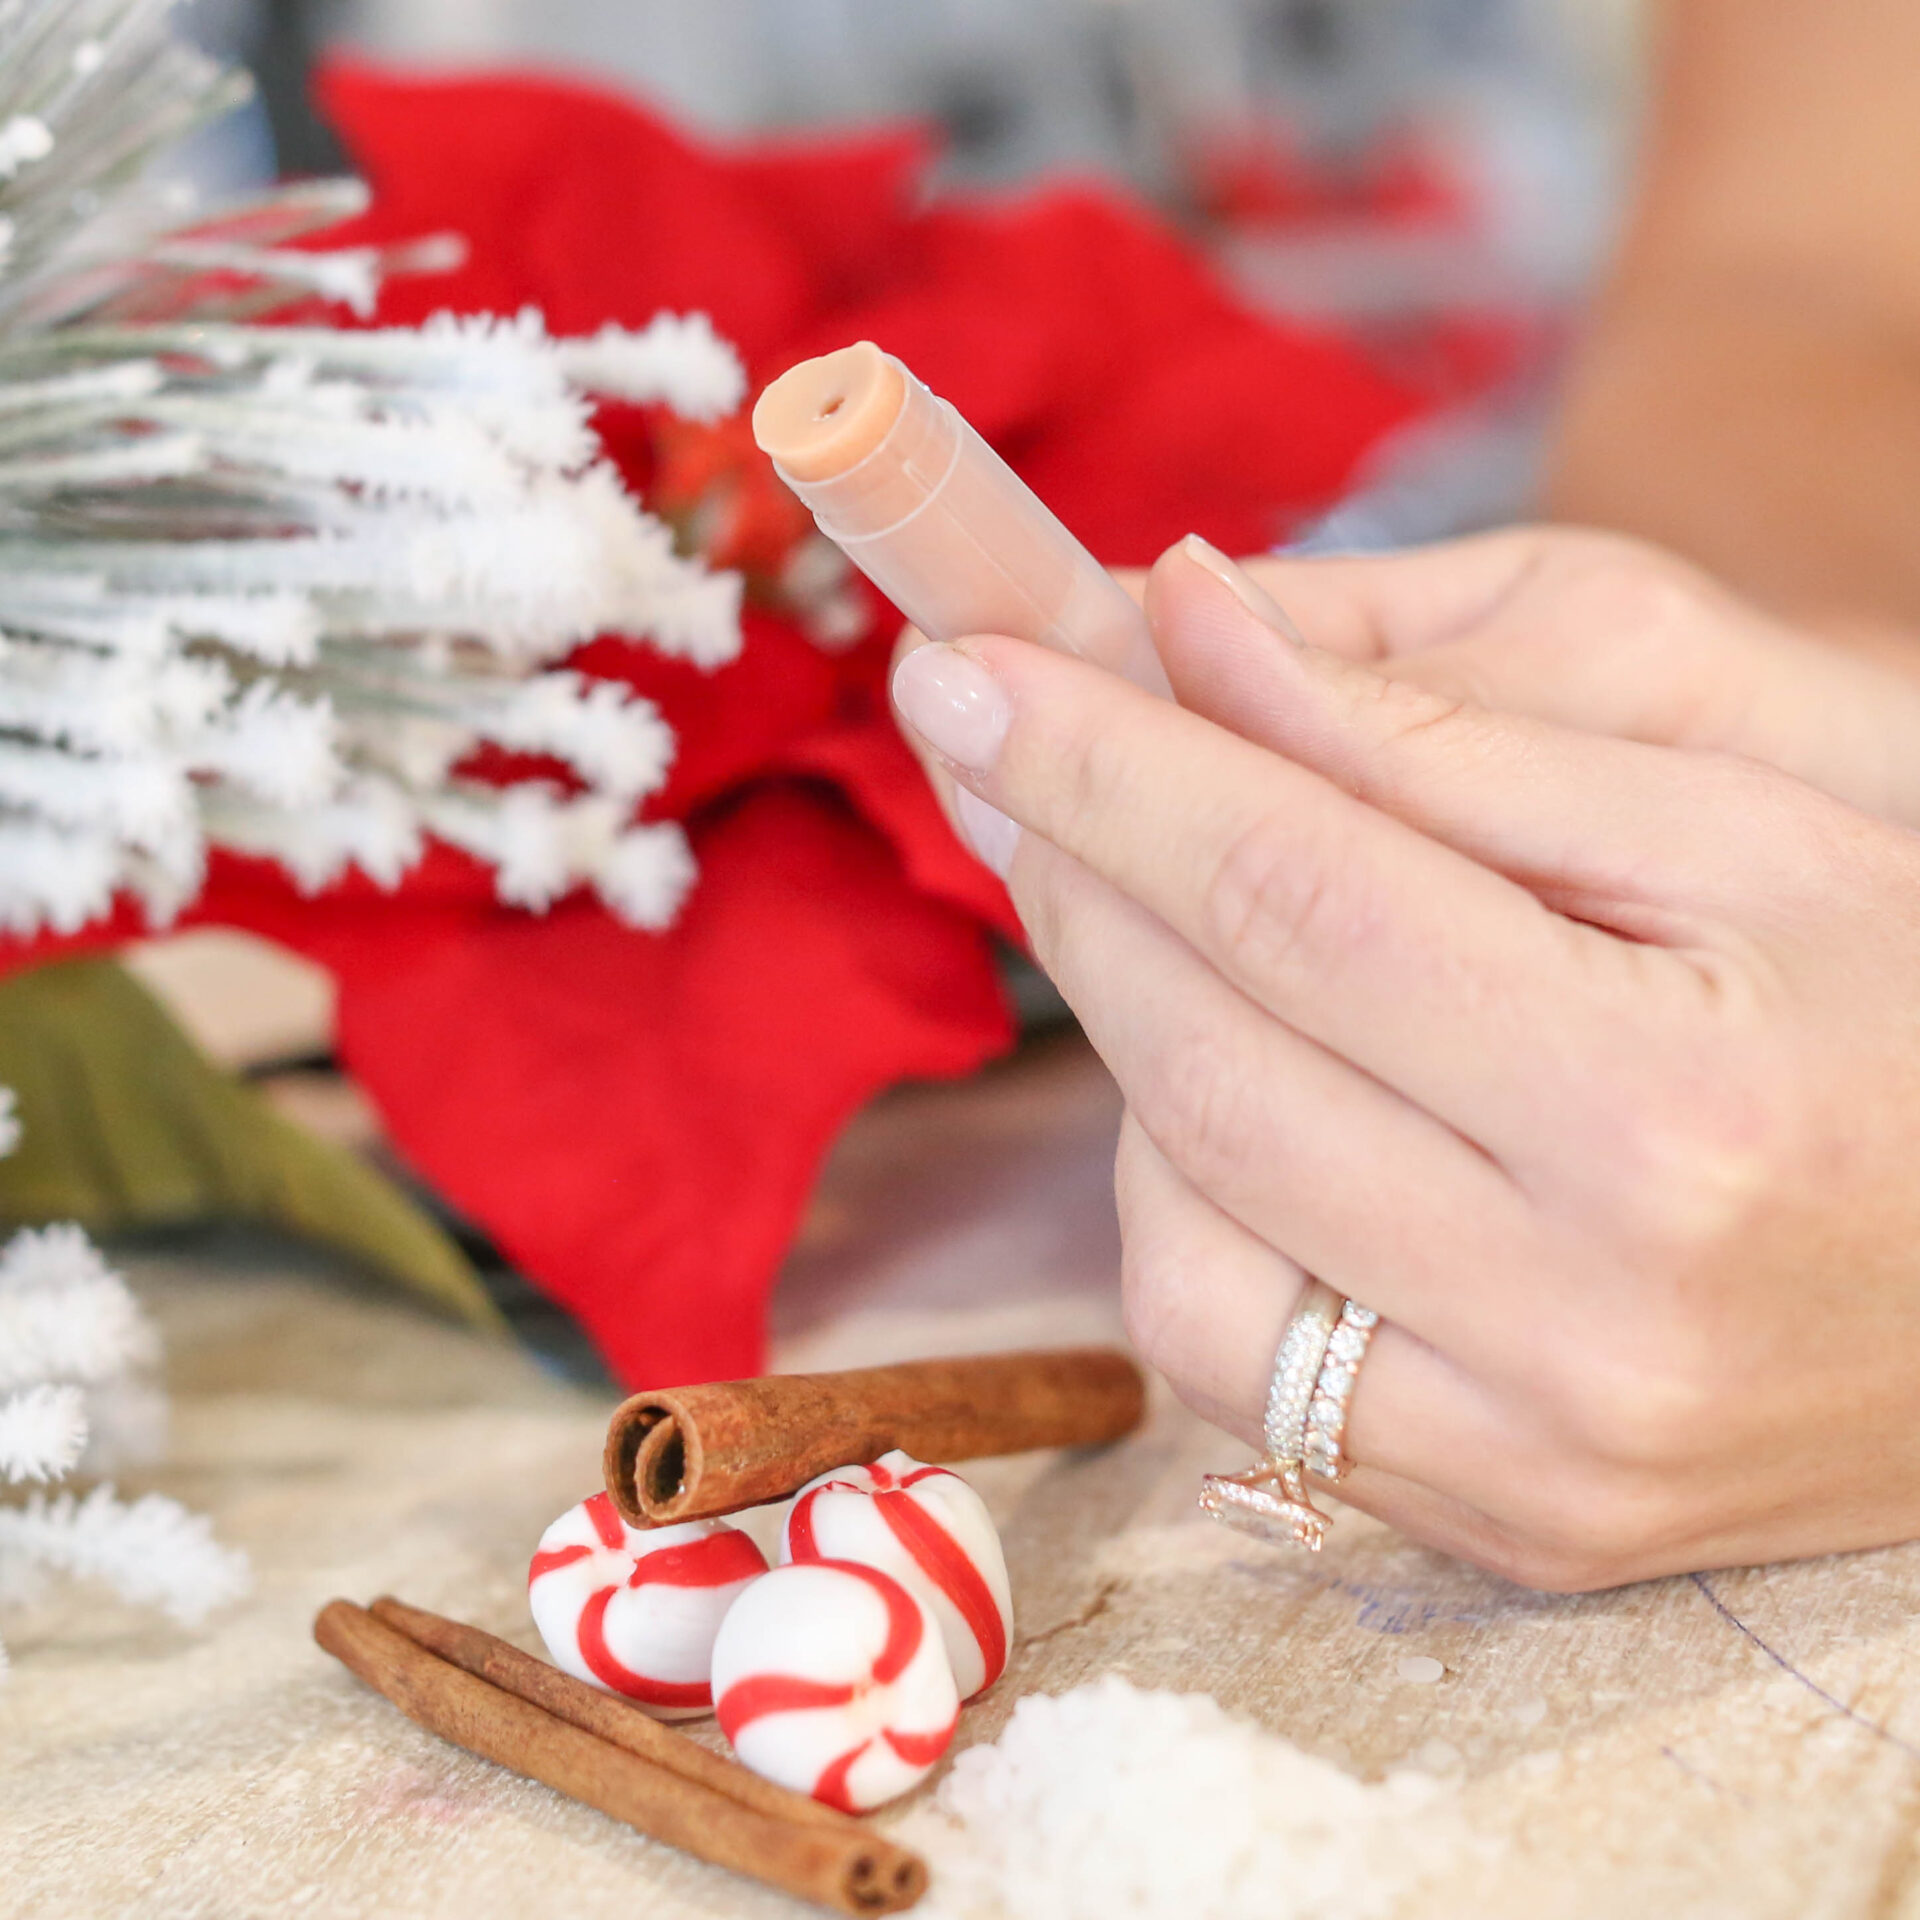
This year with my kids, we made homemade chapstick with essential oils and colored them with mica powder. Not only was it a fun afternoon, but we were able to use essential oils that carry different benefits and also tie in to this festive season.
Most of what we used had antimicrobial, antioxidant, antiseptic and anti-inflammatory benefits! See below what you’ll need to make them, and step-by-step instructions!

What You’ll Need
- Beeswax Pellets (white pellets take the mica powder color better, and I use organic, sustainable, ethically sourced beeswax, the brand I use is here)
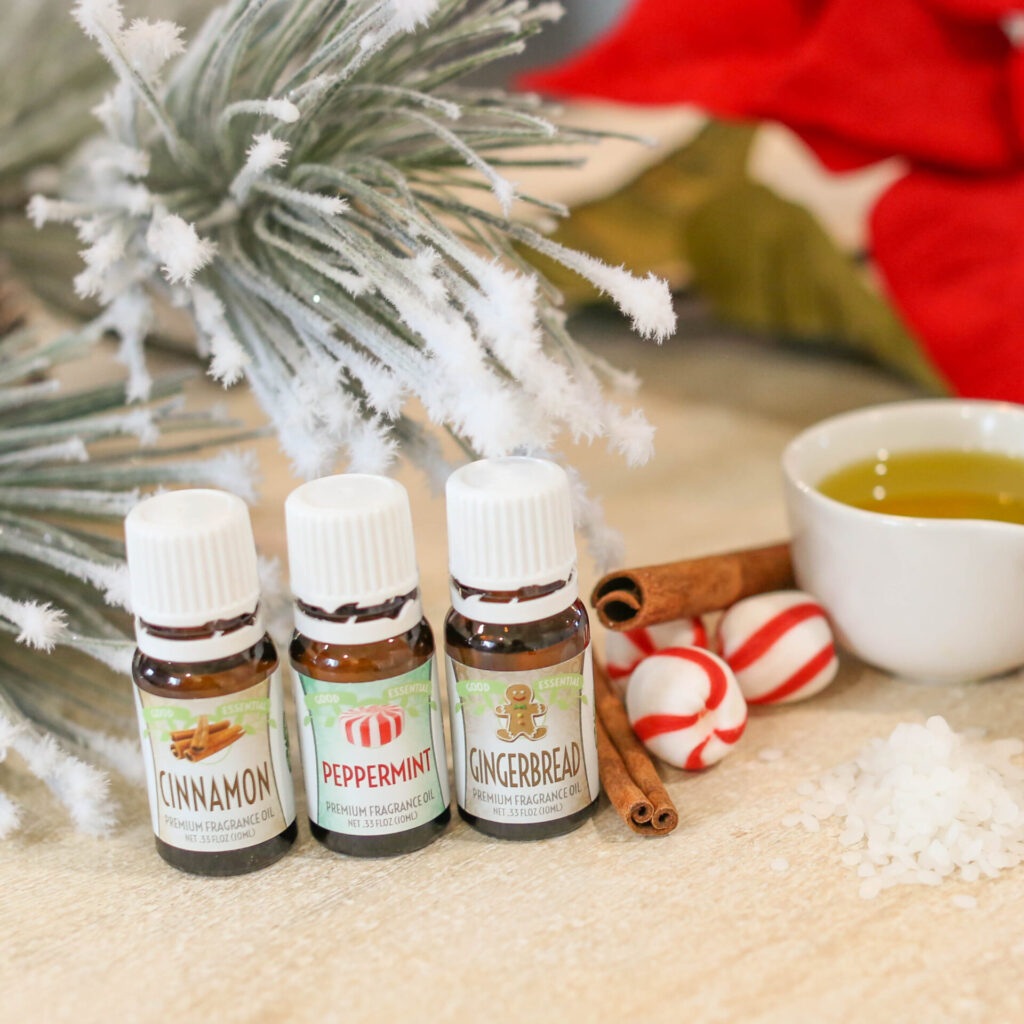
- Essential oils of your choice – we used Cinnamon, Peppermint and Gingerbread for my daughter’s friends. Others for this season are Nutmeg, Clove and
- Coconut or Olive Oil
- Optional, Shea Butter
- Mica Powder for color (this is the brand I use)
- Chapstick mold and tubes (here is an inexpensive but good one you can order online, but you can find them at craft stores too!)
- If you don’t want to use tubes or buy the kit, you can always pour into plastic, glass or tin jars too! Just follow instructions until you get to the steps involving the molds, and just pour into whatever container you prefer and add oils after that!
Instructions
The beginning process is similar to making a candle. If you’d like to add shea butter, add in equal parts shea butter as beeswax and olive oil. Shea butter will make the chapstick much softer, so if you like a firmer chapstick, skip the shea butter and just do the olive oil and beeswax in equal parts.
1. Fill up dutch oven or larger sauce pot halfway full with water; bring to a boil
2. Add wax and oil to the smaller sauce pot / 4 lb pouring pot / 2 cup glass measuring cup (if you’re using the measuring cup you’ll have to do this multiple times as the full recipe won’t fit in its entirety). Equal parts beeswax, olive oil (and shea butter if you’re adding it.)
3. Place smaller sauce pot / 4 lb pouring pot / 2 cup glass measuring cup into the boiling water, allow contents to melt until clear.
4. When the olive oil, beeswax (and shea butter) have melted you can add the mica power here if you want all of your chapsticks to be the same color. This is the easiest (and cleanest route to go!)
5. Mix the wax gently before pouring it slowly over the chapstick mold. Use the spatula to scrape the extra away. (Follow any additional steps included with your tray, each set may vary a bit.)
6.) Drop a few drops of the essential oil you want to use into each chapstick mold. Place the top of the mold and allow to cool.

Oil Benefits
Peppermint: antiseptic, cooling
Cinnamon: natural remedy for coughs, colds, anti-inflammatory, antioxidant
Clove: antimicrobial, moisturizing
Nutmeg: anti-inflammatory, antibacterial, antioxidant
This really is a great activity with the kids and once you have the chapstick mold you can do this over and over, and for not a lot of cost. Plus, it’s a great gift! Let me know if you give it a whirl, heavens know we need activities to take up time over the holiday break with the kiddos! At least I know I do!

Leave a Reply